Create memories and an inspiration-filled afternoon with these cute Easter craft ideas.
Spring is here, and Easter is just around the corner!
If you’re looking for a fun and festive way to spend the day, you’ve come to the right blog post.
We’re excited to share some of our favourite cute and easy crafts for Easter.
Not only are these crafts fun for the kids, but you’ll be able to create a memorable afternoon for the whole family. The last activity is especially great for all ages. (Get your cameras ready!)
Mixing crafts and creativity is a great way to get kids immersed in a hands-on experience that builds their fine motor skills. Not only that, but crafts give everyone a much-needed break from their screens.
Who knows, maybe this year you’ll even start a new Easter tradition!
Keep reading and we’ll give you a step-by-step rundown of 3 fun and simple Easter crafts for kids.

Activity #1: Creative Painted Easter Eggs
Some crafts for Easter become a tradition… this is one of them!
What You’ll Need
- Hard-boiled eggs (or plastic eggs)
- Water
- Acrylic paints
- Paintbrushes
- Markers
- Glitter
Step 1: Prep your eggs
Hard boil your eggs until they are nice and solid. Wait for them to cool off completely before letting the kids get to work.
Step 2: Prep your creative supplies
While waiting for the eggs to be ready, clear off a table and set up all the supplies. You’ll want to put out cups of water and a variety of paints and paintbrushes. You can use many types of paint, but acrylic works best! Spread out any other decorations that the kids can get creative with, like markers or glitter.
Step 3: Decorate your eggs
It’s time to let imaginations fly! Paint the eggs with all sorts of lines, zigzags, and shapes in an array of colour combinations. Use the markers to give the eggs faces, or glitter to give that extra sparkle. Finishing the eggs off with a glossy clear coat is completely optional.
Step 4: Set it and forget it
A great way to let the eggs dry without ruining the masterpiece is to set them back in the carton. By the next morning, they’ll be dry and ready to put on display. Arrange them on a windowsill, in a vase, or in a basket.
Fun Tip: For a cheap and cheerful option, use plastic eggs! You might already have some laying around the house, or you can get them at any discount store. This is a great option if you want to avoid using real eggs.
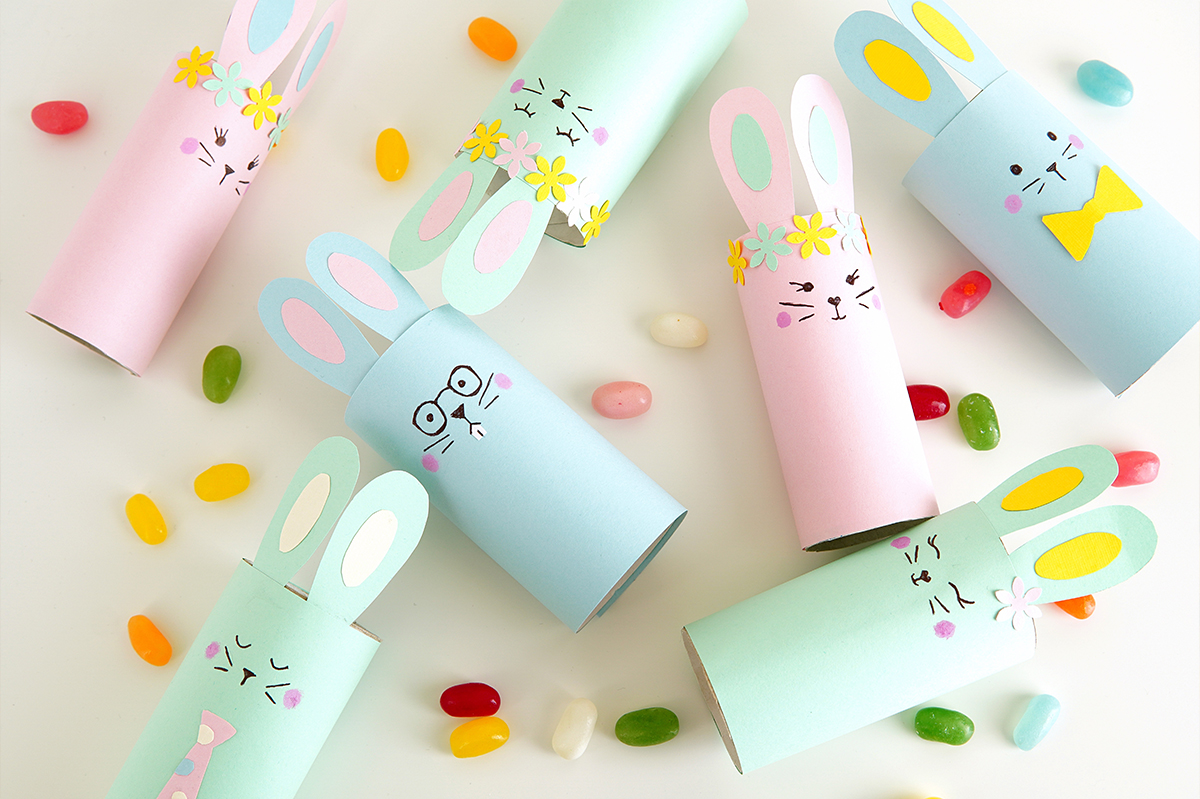
Activity #2: Toilet Paper Roll Easter Bunnies
We love Easter crafts that are a breeze to make and utilize items already laying around the house!
What You’ll Need
- Toiler paper rolls
- Craft or scrapbook paper
- Scissors
- Glue
- Markers / Pens
- Optional: Googly eyes, pom-poms, pipe cleaners
Step 1: Create the body
Wrap your toilet paper rolls in coloured paper, for white bunnies you can use white paper. Simply cut out a bunch of rectangles so the kids can pick their favourite colours and patterns, and glue them on.
Step 2: Create the ears
To make the bunny ears you’ll need to draw your best ear shapes on paper, then draw smaller ear shapes next to them. Cut out all the ear shapes. Glue the smaller shapes on top of the bigger ones. Then glue the ears, facing outwards, onto the top of the roll.
Step 3: Create the face
Now it’s time to bring the bunnies to life by drawing on faces and whiskers. Use pens or markers for the easy option. Take it to the next level by using googly eyes, pom-poms as noses, and pipe cleaners as whiskers.
Step 4: Add some personality
To finish off these Easter characters, give them accessories. Create bowties or flower crowns made from cut-out paper. You can even glue a pom-pom on the back as a tail.
Fun Tip: We know kids and crafts can get a little messy! That’s why we chose the mess-free version of these toilet paper roll bunnies. However, this DIY project can also be done with acrylic paints.
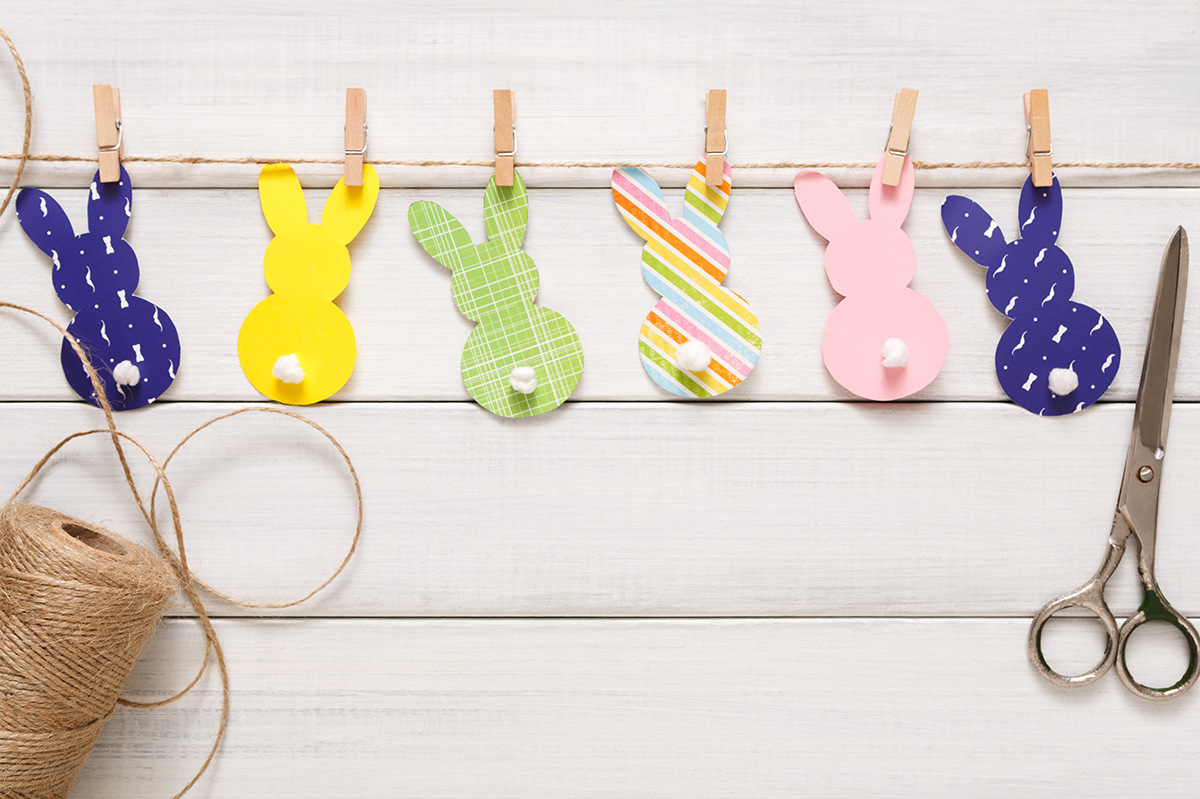
Activity #3: Easter Bunny Garland
This Easter DIY craft is super easy and can also be used as festive home decor!
What You’ll Need
- Roll of twine, string, or yarn
- Craft or scrapbook paper
- Scissors
- Clothespins
- Glue
- Pencil / Marker
- Pom-poms / Cotton balls
Step 1: Cut out the bunnies
Print out a bunny outline template online, there are so many to choose from! If you’re feeling brave you can draw one yourself.
Get together a bunch of scrapbook paper or thick patterned paper. Cut out as many bunnies as you want, depending on how long you want the garland to be.
Step 2: Glue on the pom-pom tails
Glue some coloured or white pom-poms on the bunnies. You can even break up cotton balls you have laying around the house. Roll them up and glue them on.
Step 3: Attach the bunnies to the twine
Cut your desired garland length from a roll of twine. You could also use any type of string or yarn found around your home. Attach the bunnies to the twine with some clothespins for a rustic look. For a simple look, glue the bunnies to the twine.
Step 4: Hang and enjoy.
That’s it, now your garland is ready to hang! Hang it in a window, on a mantel, or on the side of a table.
Fun Tip: We know sometimes these Easter crafts for kids can end up being… just for kids. But not this one! Kids, teens, and adults can all enjoy this colourful, aesthetic decoration. It’s so Pinterest-worthy!
There you have it, three super simple crafts for Easter.
If you and your family make any of these we’d love to know!
Leave a comment or tag us on Facebook or Instagram, @LeahandLaylaGifts
Looking for Easter gifts?
Don’t forget to check out these adorable products we’ve handpicked just for the occasion…

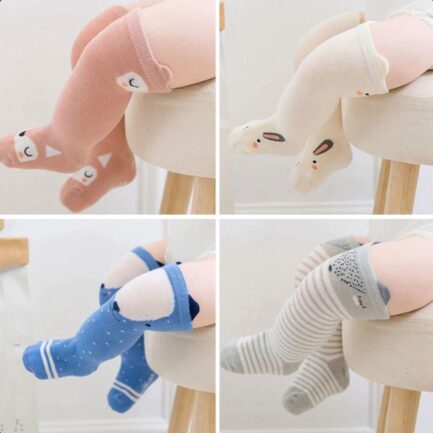
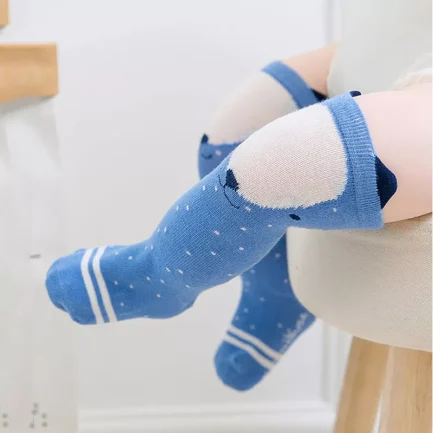
Baby Soft Cotton Socks
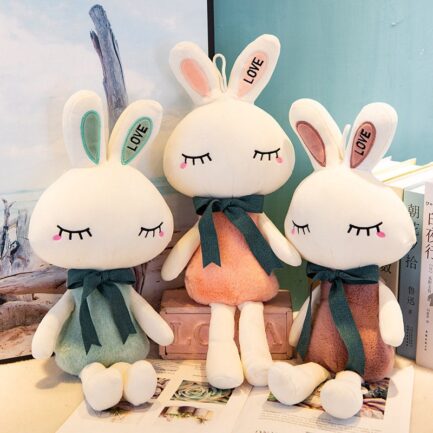
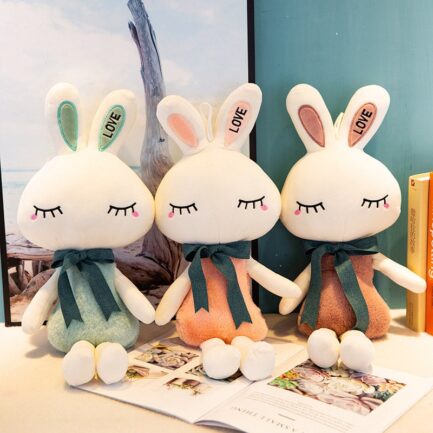
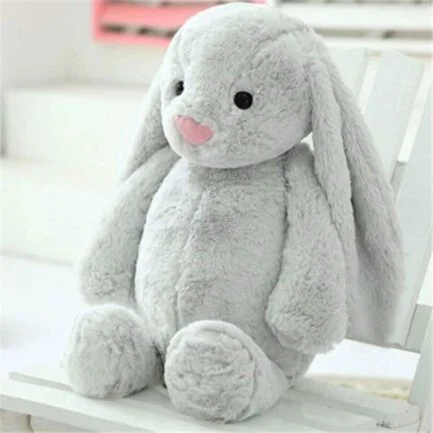
£4.95Bunny Stuffed Animal
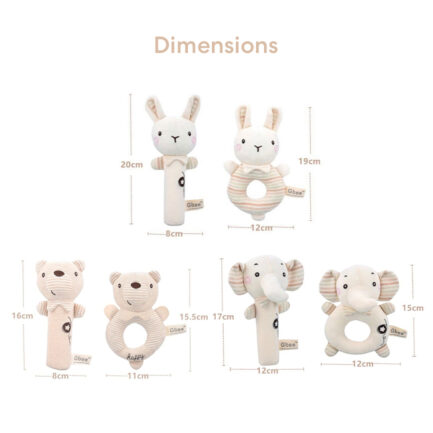
£16.99Baby Rattle Set
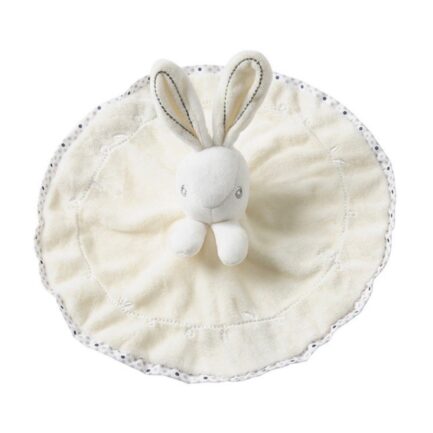
£11.99Rabbit Baby Comforter
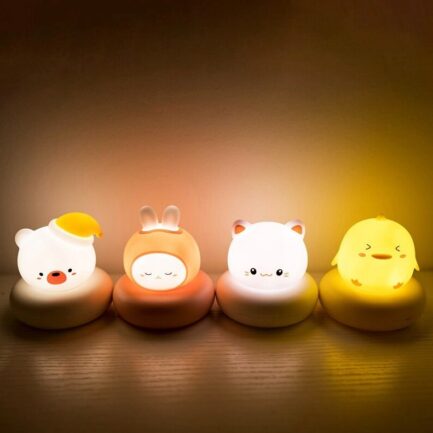
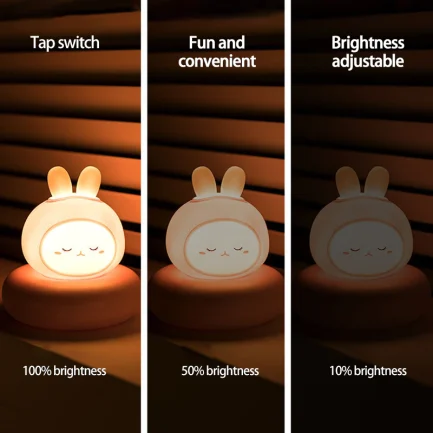
£9.99Cute Animal Night Light
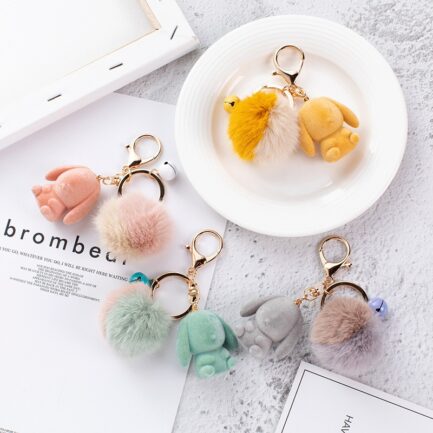
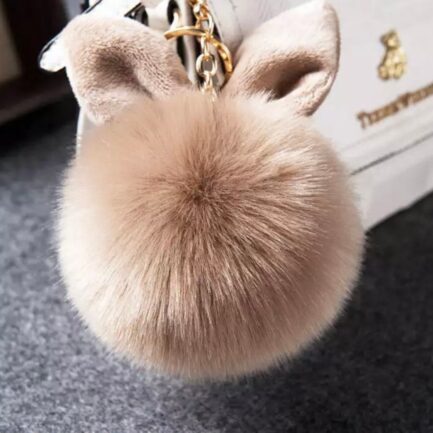
£16.99Rabbit Fur Ball Flockin Keychain
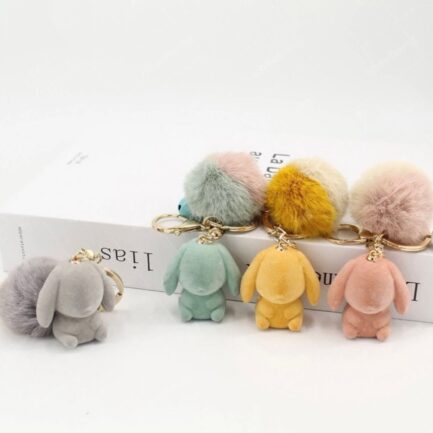
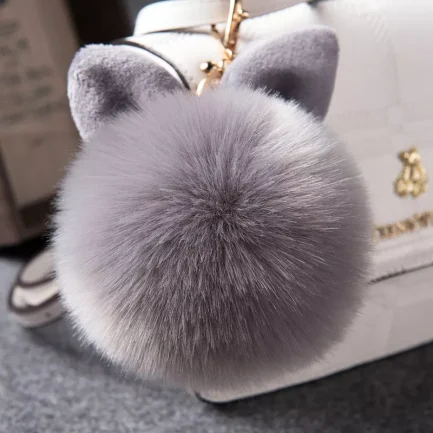
£9.99Bunny Ear Pom Pom Keyring
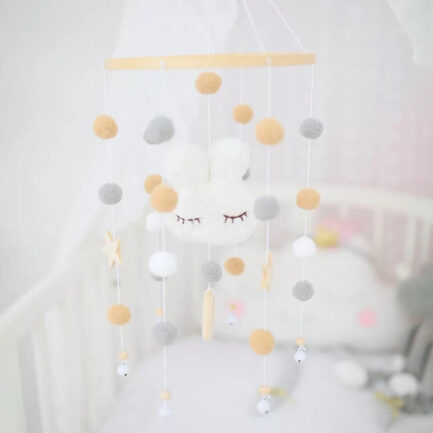
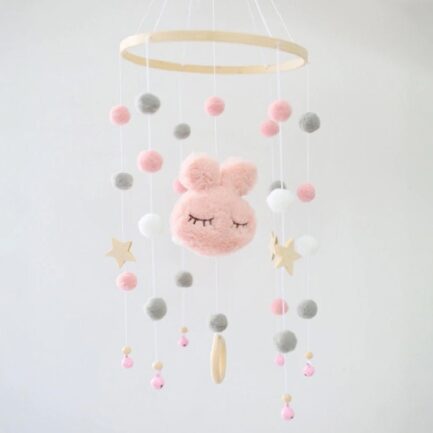
£9.99Baby Mobile Rabbit Pendant Crib Decor
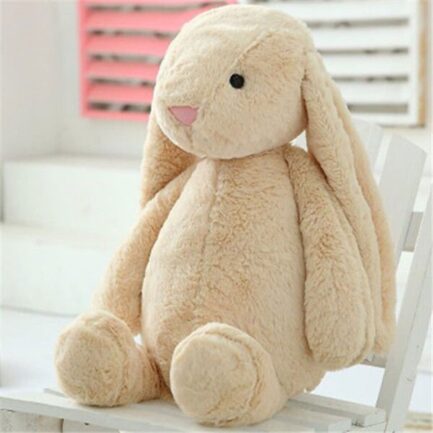
£28.99Soft and Fluffy Rabbit Baby Toy
£10.99